
In this section, we will set up an address list and allow an Active Directory security group (e.g. “Marketing” ) to access it. Also, we will configure the Active Directory agent that will load contacts into this address list from an Active Directory organizational unit.
Create the address list
-
Open PeopleSync Console and go to Address Lists.
-
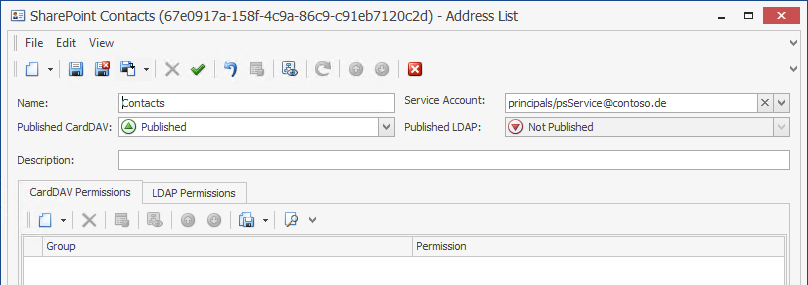
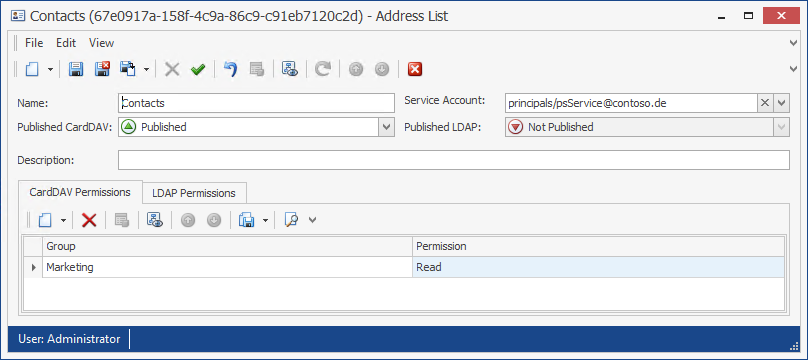
Create a new address list as follows:
-
To allow the group Marketing to read the address list, click on New in the CardDAV Permissions section.
-
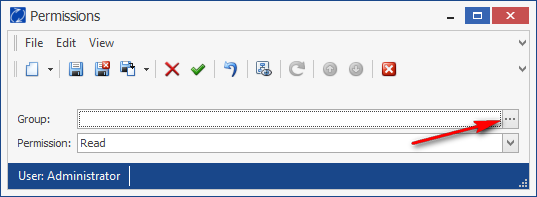
Click on “…” next to the Group field to select the group from AD.
-
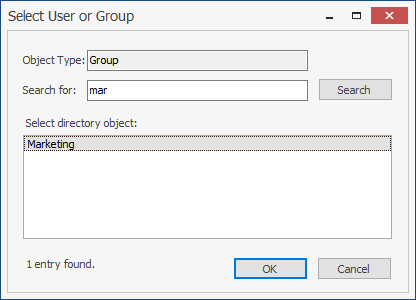
Look up the group whose users will access the address list (e.g. “Marketing”) and click OK.
-
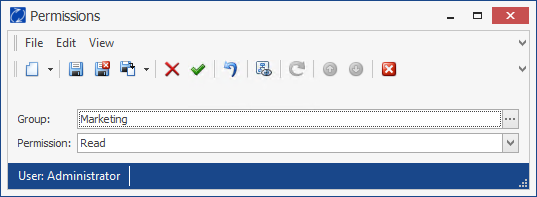
Make sure that only Read permissions are set.
-
Save. Your address list should look like this:
Create an Active Directory action account
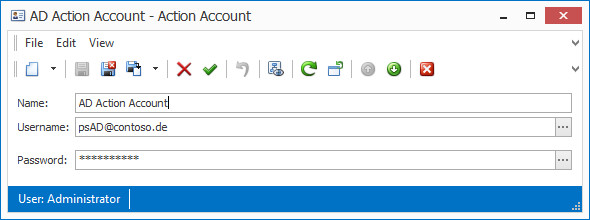
To access Active Directory, an account with read permissions in AD must be configured in PeopleSync.
-
In PeopleSync Console, go to Agents|Action Accounts.
-
Click on New to add a new Action Account.
-
Configure the action account:
-
Save and close.
Create an Active Directory Agent
-
Open PeopleSync Console and go to Address Lists|Active Directory Agents.
-
Create a new Agent.
-
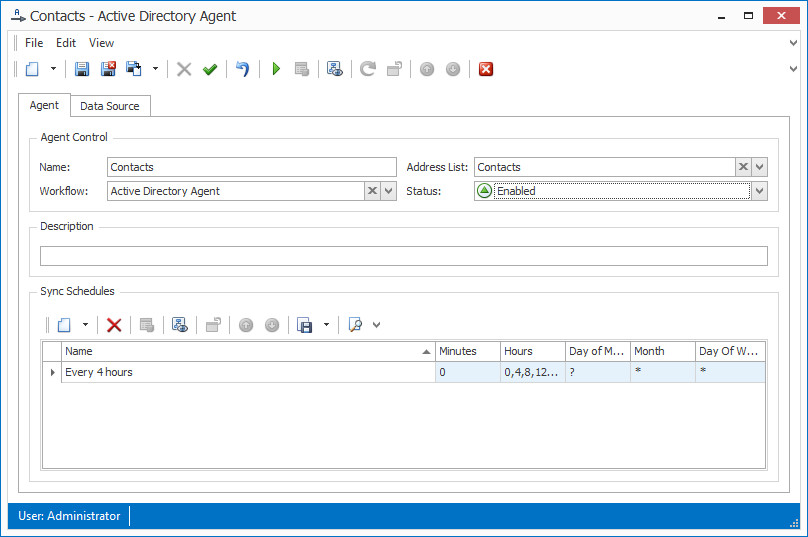
Fill out the fields on the Agent tab. As target address list, select the Contacts address list you just created.
-
Set Status to Enabled.
-
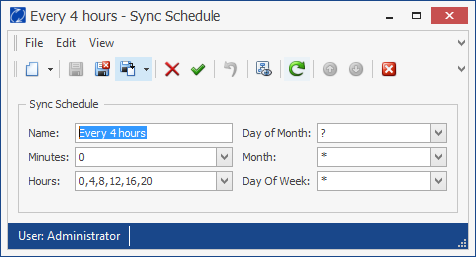
In the Sync Schedules tab, click on New to add a new schedule.
-
Configure the schedule as shown. In our example, the agent will run every 4 hours.
-
Save and Close. Now your Agent tab will look like this:
-
Switch to the Data Source tab.
-
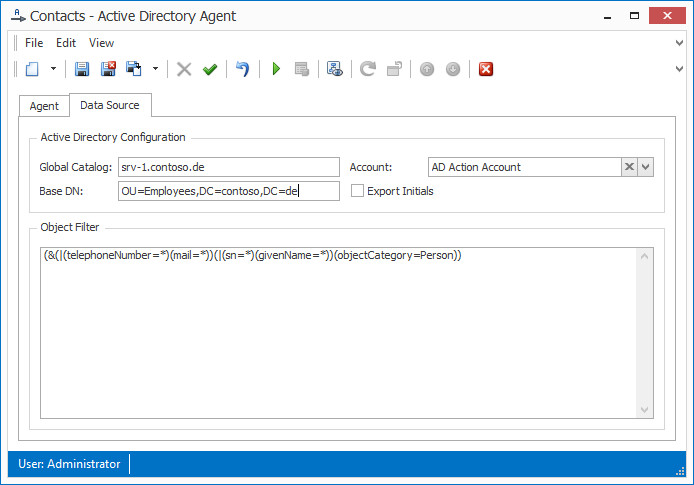
Set Global Catalog to an AD domain controller that also is a global catalog.
-
Set Account to the AD action account you created.
-
Set Base DN to the distinguished name of the OU where the users for your address list are located, e.g. OU=Emplyees,dc=contoso,dc=de.
-
If needed, change the LDAP object filter in the Object Filter pane. You can later customize it. For now, we will leave the default.
-
Your Agent should look like this:
-
Save and close.
Verify agent configuration
To verify that the agent is configured correctly, you can run the agent manually.
-
In PeopleSync Console, go to Agents|Active Directory Agents.
-
Select the agent in the list.
-
Click on the Play button in the toolbar.
-
Confirm that you want to run the agent.
-
Go to Logs. After a short time, info messages will indicate that the agent has started running.
-
When a green success log entry appears, the agent has run successfully. In the log message, you can see how many contacts were added to your address list.
Verify contacts
Once the agent has run successfully, you can preview the contacts in PeopleSync Console:
-
In PeopleSync Console, go to Address Lists.
-
Select an Address List and click on the

-
You will see a list of contacts. Click on a contact to see details.